

Having been inspired by many of our fellow ‘Instavanners’, we decided to design a pull out kitchen which would allow us to house our gas stove, storage for utensils/cutlery/ dinnerware and also a hand pump tap for washing up! I spent many hours trying to design something that pulled together all of the ideas we liked. For us, one of the hardest parts was to ensure the pull out kitchen was easy to access and functional, as well as removable when the van was being serviced.
The concept involved the ability to slide the kitchen in & out of the bench area behind the driver and passenger seats. After measuring everything a million times, we put the bench together. This, in itself was a challenge as we had to modify the back to fit with the dips and dives in the vans engine compartment.
We set two wooden lengths on the floor which created the height to overcome the incline, just behind the console. These lengths of wood would also serve the important purpose of holding the bench in place, through the use of wings nuts and long bolts. We also used a base piece which would provide a resting point for the pull out kitchen, allowing it to slide in and out with ease! Thankfully, the bench fitted in place nicely, creating a generous seating space.

Now for the stressful part… the pull out kitchen!!!
On this journey, we have learned many lessons when it comes to accurate measurements and straight cuts. After much experimentation with our jigsaw, circular saw and table saw, along with the realisation that it wasn’t that easy to get a straight cut, the Bunnings Cut Shop became our new bestie. They offer 10 free cuts with additional for a $1 each. As long as we planned things properly and knew exactly what we needed, the rest was easy! It certainly reduced the stress levels on plenty of occasions.
Off we went to the cut shop with our list! Once all the pieces were cut, we came home, labelled each one and got to work! Once we had created the main frame, I felt confident that it would all come together.
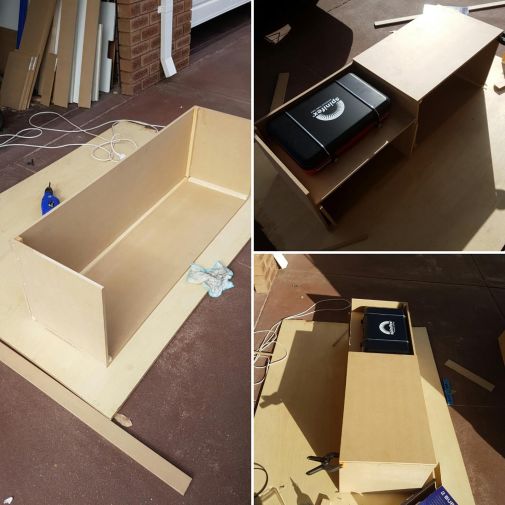
Voila! Here it is, complete with boats skids from BCF for easy glide, in and out. 🙂
Now all it needs is a lick of paint, infact many coats of paint- MDF soaks paint quickly. We used an undercoat, followed by a top coat.
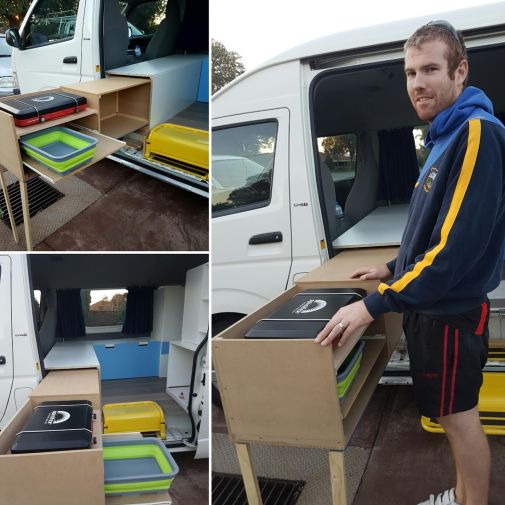
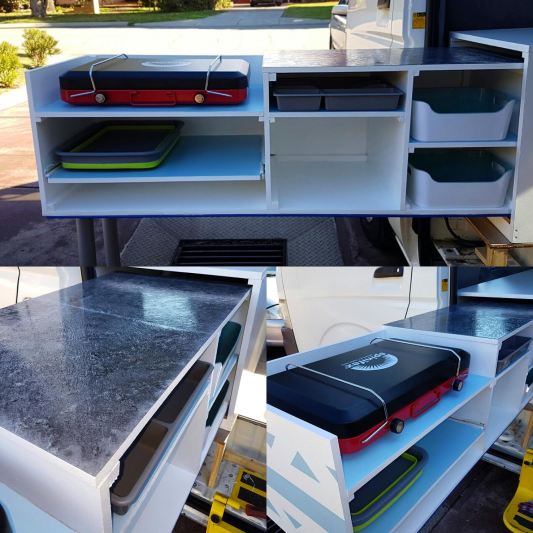
I could not believe it all came together so well, complete with our gas stove top, pull out basin shelf, cutlery tray & storage along with removable legs, courtesy of Ikea which screw on and off as and when required. Some finishing touches also applied- a splash of colour and some stick on vinyl tiles for the counter top from Bunnings- only $1.49 each! We still need to add the tap but for now we are really happy with the results, this is a major task completed so happy campers all around! 🙂
Next on the list… Storage under the bed! 🙂


